NON DESTRUCTIVE TESTING
There are a variety of methods used to evaluate materials or components, Non-Destructive Testing (NDT) is an important aspect of many of these. The field of NDT involves the identification and characterisation of damage on the surface and interior of materials without cutting apart or otherwise altering the material.
In other words, NDT refers to the evaluation and inspection of materials or components for characterisation, or finding defects and flaws in comparison with some standards. NDT techniques provide a cost-effective means of testing a sample for individual investigation, or may be applied on the whole material for checking in a quality control system.
NDT methods are applicable across a wide range of materials; ferrous, nonferrous or composite.
Contact us to find out how our mechanical laboratory can help with your business compliance.
PHASED ARRAY ULTRASONIC TESTING (PAUT)
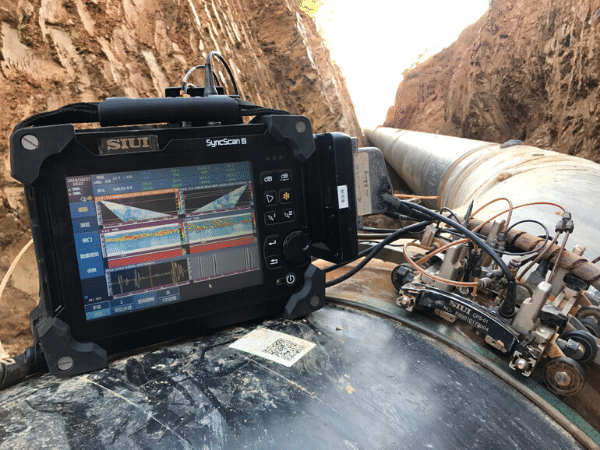
Phased Array Ultrasonic Inspection (PA) is an advanced method of Ultrasonic Testing. The beam from a phased array probe is focused and directed to sweep electronically across the material of interest to produce a scan of the inspected volume which can be recorded and analysed onsite or at a later time. Used to detect discontinuities, i.e. cracks or flaws, PA tests component quality.
Phased Array can be used for the following industrial purposes:
- Inspection of welds.
- Thickness measurements.
- Corrosion inspection.
- Flaw detection.
- Rolling stock inspection (wheels and axles).
MTL conducts Phased Array inspections on metallic or composite materials.
ULTRASONIC INSPECTION (UT)
The scanning of material with an ultrasonic beam, which will be reflected by faults in the material, is a powerful and well-established non-destructive test method.
A wide variety of cracks, voids, disbonds, inclusions, and similar issues that can affect structural integrity can be located and measured with ultrasonic flaw detectors.
The minimum detectable flaw size will depend on the material being tested, the type of flaw under investigation, and the type of probe being used.
EDDY CURRENT INSPECTION
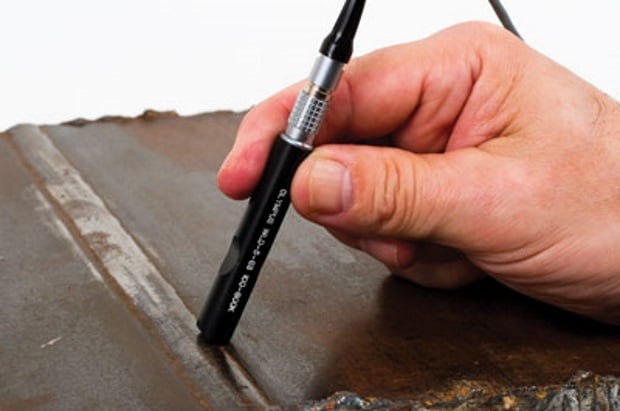
Eddy Current Inspection is one of several NDT methods that utilises electromagnetism for conducting examinations. Eddy currents are created through a process called electromagnetic induction. One of the major advantages of Eddy Current is the variety of inspections and measurements that can be performed.
In the proper circumstances, eddy currents can be used for:
- Crack detection
- Material thickness measurements.
- Coating thickness measurements.
- Conductivity measurements for:
- Material identification
- Heat damage detection
- Case depth determination
- Heat treatment monitoring
RADIOGRAPHIC INSPECTION (RT)
Radiographic Inspection is a classic NDT method. Materials are inspected for hidden flaws through the ability of short X-rays and gamma rays to penetrate various materials.
An advantage of RT is that it can be used to inspect assembled components with minimum surface preparation. It can detect surface and subsurface defects, verify internal flaws on complex structures without sectioning them, and is sensitive to changes in thickness, corrosion, flaws and material density.

MAGNETIC PARTICLE TESTING (MT)
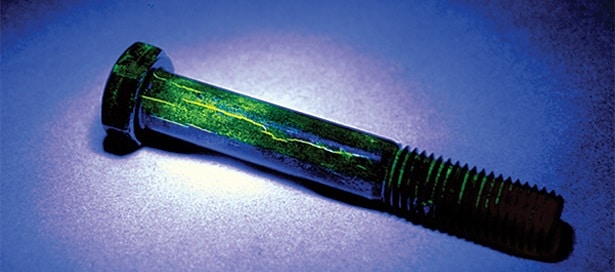
MT is a method of testing for cracks and other defects in a magnetic material, such as steel, by covering it with a magnetic powder and magnetising it.
Any variation in the concentration of the powder indicates a flaw in the material.
When a crack or other discontinuity is present, the magnetic flux leaks out of the material. As it leaks, the magnetic flux will collect the sprayed ferromagnetic particles making the size and shape of the discontinuity easily visible.
DYE PENETRANT INSPECTION (PT)
Also called Liquid Penetrant Inspection (LPI) or Penetrant Testing (PT), this is a method used to locate surface-breaking defects in all non-porous materials (metals, plastics, or ceramics).
LPI is used to detect casting, forging and welding surface defects such as hairline cracks, surface porosity, leaks in new products, and fatigue cracks on in-service components.
VISUAL INSPECTION (VT)
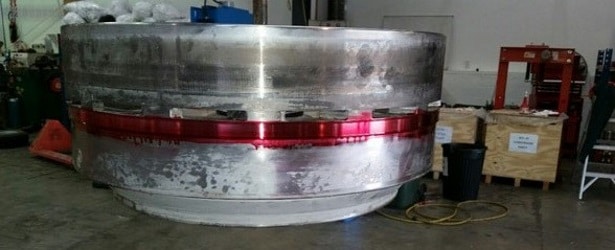
Visual Inspection, with or without optical aids, is the original means of conducting NDT. Many defects are surface-breaking and can be detected by careful direct visual inspection.
It is typically used as a first step in identifying flaws in a given join or material. Compared to other testing techniques, VT is generally more cost effective and easier to perform. VT often eliminates the need for further testing.

